A Model in Pine3D is stored as a list of Polygon which means that we can easily create small models by hand, or use code to generate meshes like terrain or clouds. Alternatively, we can use a program to convert .obj files we can create with for example Blender, or download from the internet to this format.
On the Pine3D GitHub repository, you can find programs to help convert these .obj files to the format used by Pine3D. Below, you can find a tutorial for how to use them.
You can create models with Blender just like one normally would. However, since Pine3D does not support rendering textures, using textures to color the model is quite a hassle. Instead, we can opt not to use textures and only use materials with the diffuse color that we want. When this is converted later, it will use this color if there is no texture found.
Below, you can see a short video tutorial which goes through the process of creating a Blender model for Pine3D.
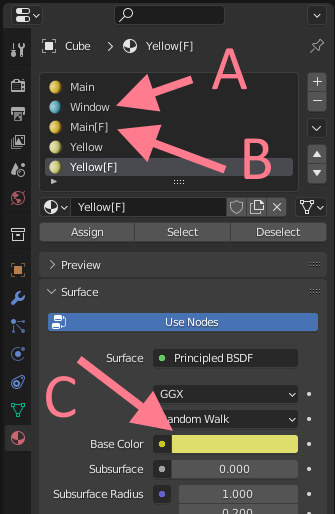
As you can see in the image below, we can create new meterials for each color we want to have (A). We can change the diffuse / base color (C) to any CC color (you can find them on the ComputerCraft wiki). When we select edit mode for the object, we can then select specific triangles and assign the material to color them.
Finally, if triangles for a meterial need to be visible from both sides, we can end the name of the material with "[F]" as seen in the image (B). This will tell the converter later that forcerender needs to be enabled for these polygons.
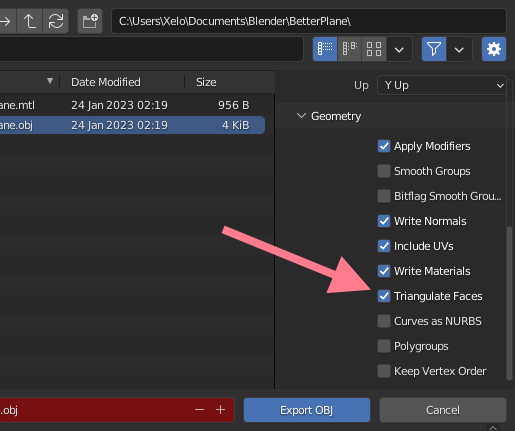
When your model is ready, it can be exported as an .obj file. Make sure that upon exporting, the option "Triangulate Faces" is enabled as seen in the image below. This ensures that there are no polygons with more than 3 vertices. While we can later import models with polygons with up to 4 vertices, forgetting to do this can cause your model to have missing polygons if it has faces with more than 4 vertices.
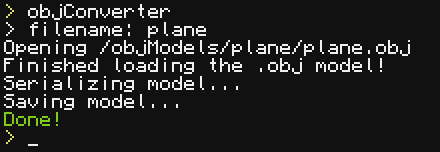
To import the .obj file and convert it, we can run objConverter.lua as seen below to generate the final model.
The program assumes that the .obj file as the same name as the folder it is in, which is located in "/objModels" and will store the converted model in "/models" with the same name.
You can load existing .obj files for use with Pine3D as well, but this is not recommended, since these models are probably not as optimized for Pine3D.
Often, textures from .obj models are stored as .png or .jpeg files, which we can't easily parse with Lua. We will want to use .nfp files at the last step of converting the .obj file. Because of this, we start by manually converting the texture to a bitmap (.bmp) file, which has parsers implemented in Lua.
When we convert the image to a bitmap, we can also decide to change the colors to the ComputerCraft color palette (or at least colors closer to them) to make the color mapping later easier.
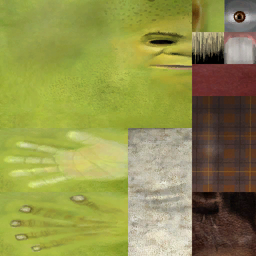
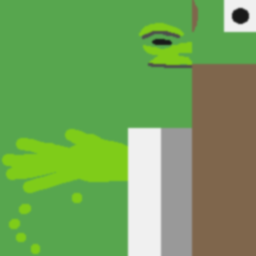
Now that we have our bitmaps, we can convert each of them to a .nfp file for easy parsing later. This can be done by running bmpConverter.lua (with bitmap.lua as a dependency) as seen below.

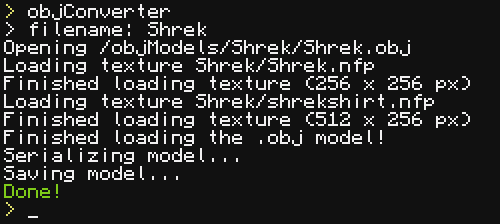
When all textures are converted (if applicable), we can run objConverter.lua as seen below to generate the final model.
The program assumes that the .obj file as the same name as the folder it is in, which is located in "/objModels" and will store the converted model in "/models" with the same name.
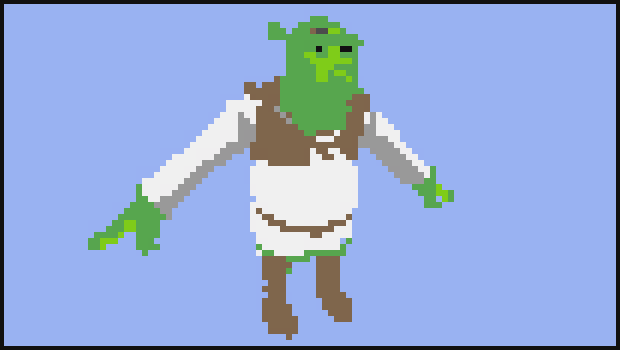
The final result can be seen below: our beloved Shrek.
We can also opt to generate meshes automatically or by hand. Below is the source code for creating a cube Model. Creating a Model by hand is rather similar.
-- helper function to create a new Polygon
function newPoly(x1, y1, z1, x2, y2, z2, x3, y3, z3, c)
  return {
    x1 = x1, y1 = y1, z1 = z1, x2 = x2, y2 = y2, z2 = z2, x3 = x3, y3 = y3, z3 = z3,
    c = c,
  }
end
function models:cube(o)
  o.color = o.color or colors.red
  return {
    newPoly(-.5,-.5,-.5, .5,-.5,.5, -.5,-.5,.5, o.bottom or o.color),
    newPoly(-.5,-.5,-.5, .5,-.5,-.5, .5,-.5,.5, o.bottom2 or o.bottom or o.color),
    newPoly(-.5,.5,-.5, -.5,.5,.5, .5,.5,.5, o.top or o.color),
    newPoly(-.5,.5,-.5, .5,.5,.5, .5,.5,-.5, o.top or o.color),
    newPoly(-.5,-.5,-.5, -.5,-.5,.5, -.5,.5,-.5, o.side or o.color),
    newPoly(-.5,-.5,.5, -.5,.5,.5, -.5,.5,-.5, o.side2 or o.side or o.color),
    newPoly(.5,-.5,-.5, .5,.5,.5, .5,-.5,.5, o.side or o.color),
    newPoly(.5,-.5,-.5, .5,.5,-.5, .5,.5,.5, o.side2 or o.side or o.color),
    newPoly(-.5,-.5,-.5, .5,.5,-.5, .5,-.5,-.5, o.side or o.color),
    newPoly(-.5,-.5,-.5, -.5,.5,-.5, .5,.5,-.5, o.side2 or o.side or o.color),
    newPoly(-.5,-.5,.5, .5,-.5,.5, -.5,.5,.5, o.side or o.color),
    newPoly(.5,-.5,.5, .5,.5,.5, -.5,.5,.5, o.side2 or o.side or o.color),
  }
end